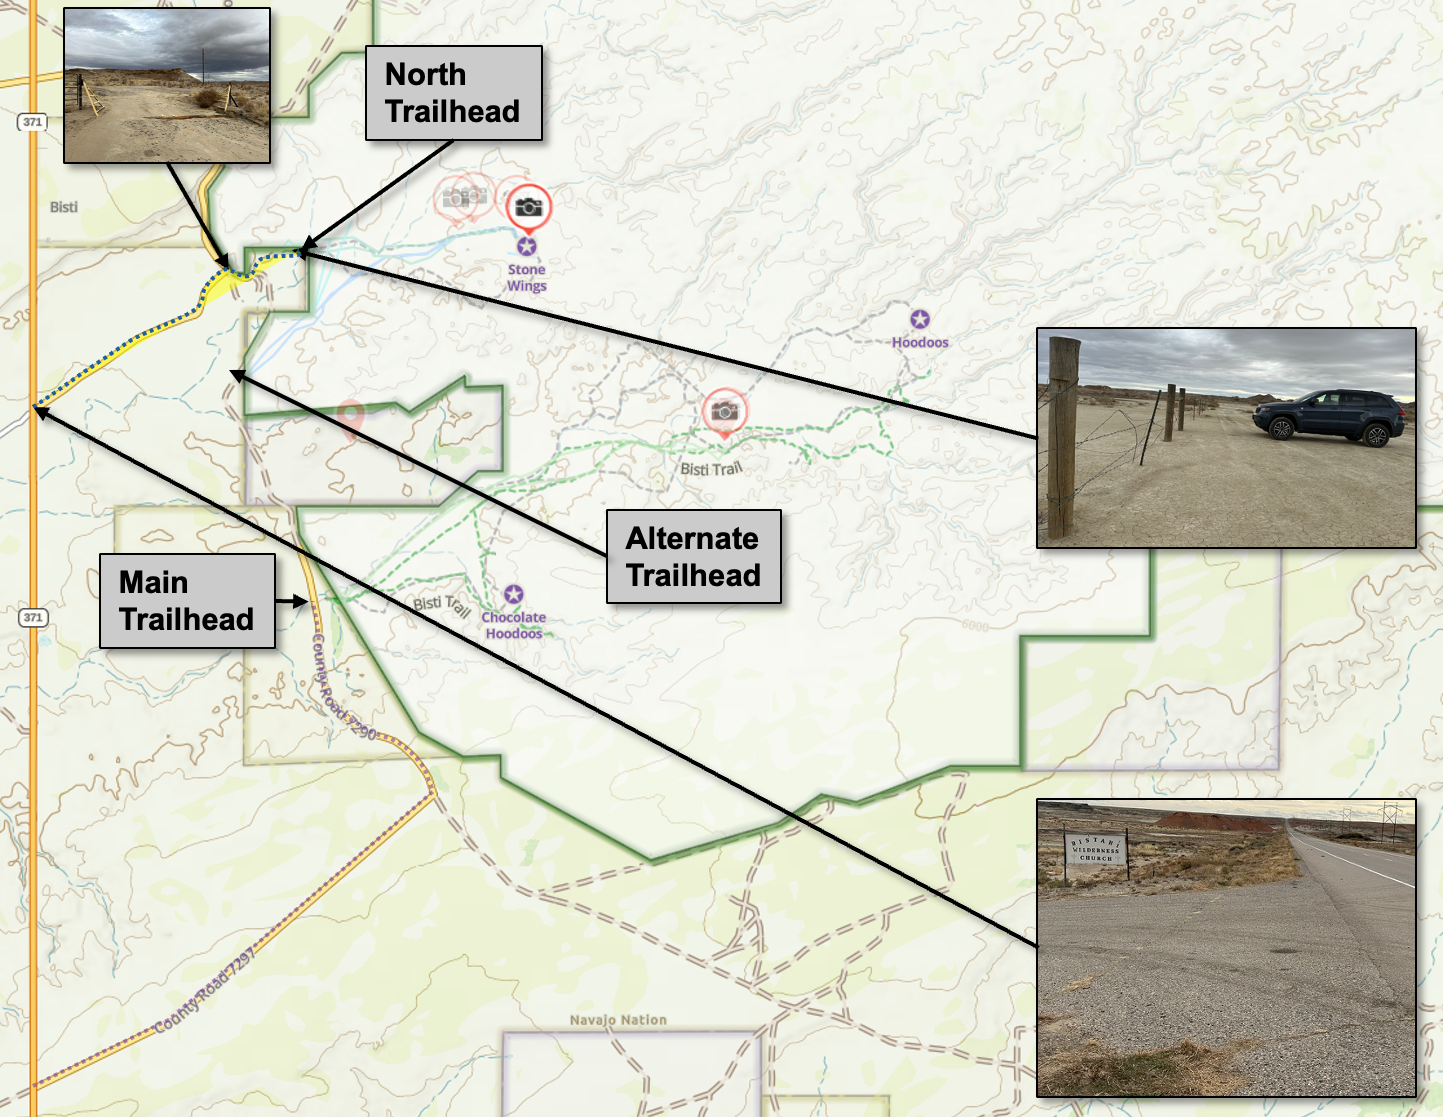
When I think of Bisti Badlands and the hoodoos found there, the image most often found on the internet query is the stone wings also referred to as the three wings. What isn’t well known is that the primary access to the stone wings isn’t from the main trailhead, but to the North adjacent to Hunter Wash Cristi. The other lesser-known information about this trailhead is that the road (7295) from the main trailhead is cut. So to get to the trailhead you have to enter off of Highway 371 onto Road 7293, then turn onto Indian Service Route 7000, also referenced as Road 7250.
Those who use this trailhead cut off more than three-quarters of a mile to those who try walking from where Road 7297 ends and labeled below as Alternate Trailhead. See the below map. The downside of using the North trailhead is that there are two ravines you don’t have on the longer route, labeled below as an Alternate Trailhead. Those who opt to do the alternate trailhead must use the Main Trailhead route and continue Northward along Road 7250 crossing a ravine that might not be negotiable without a high-clearance vehicle. So the North Trailhead is the preferred starting point. To get there, exit Highway 372 at the intersection of Road 7295 where you see the white sign advertising the Bistahi Wilderness Church as pictured in the map below. Continue down that road to the cattle crossing on the road to turn right on Road 7290 which ends at the parking lot to the aforementioned church. However, the road to the trailhead is on the left just before you hit the Church parking lot. This is well over a quarter mile in length, but part way down the fence line about a third of the way down you will see an easy crossover on the fenceline that you won’t find at the end of the fence line, which could save you the most time. See the picture on the map.
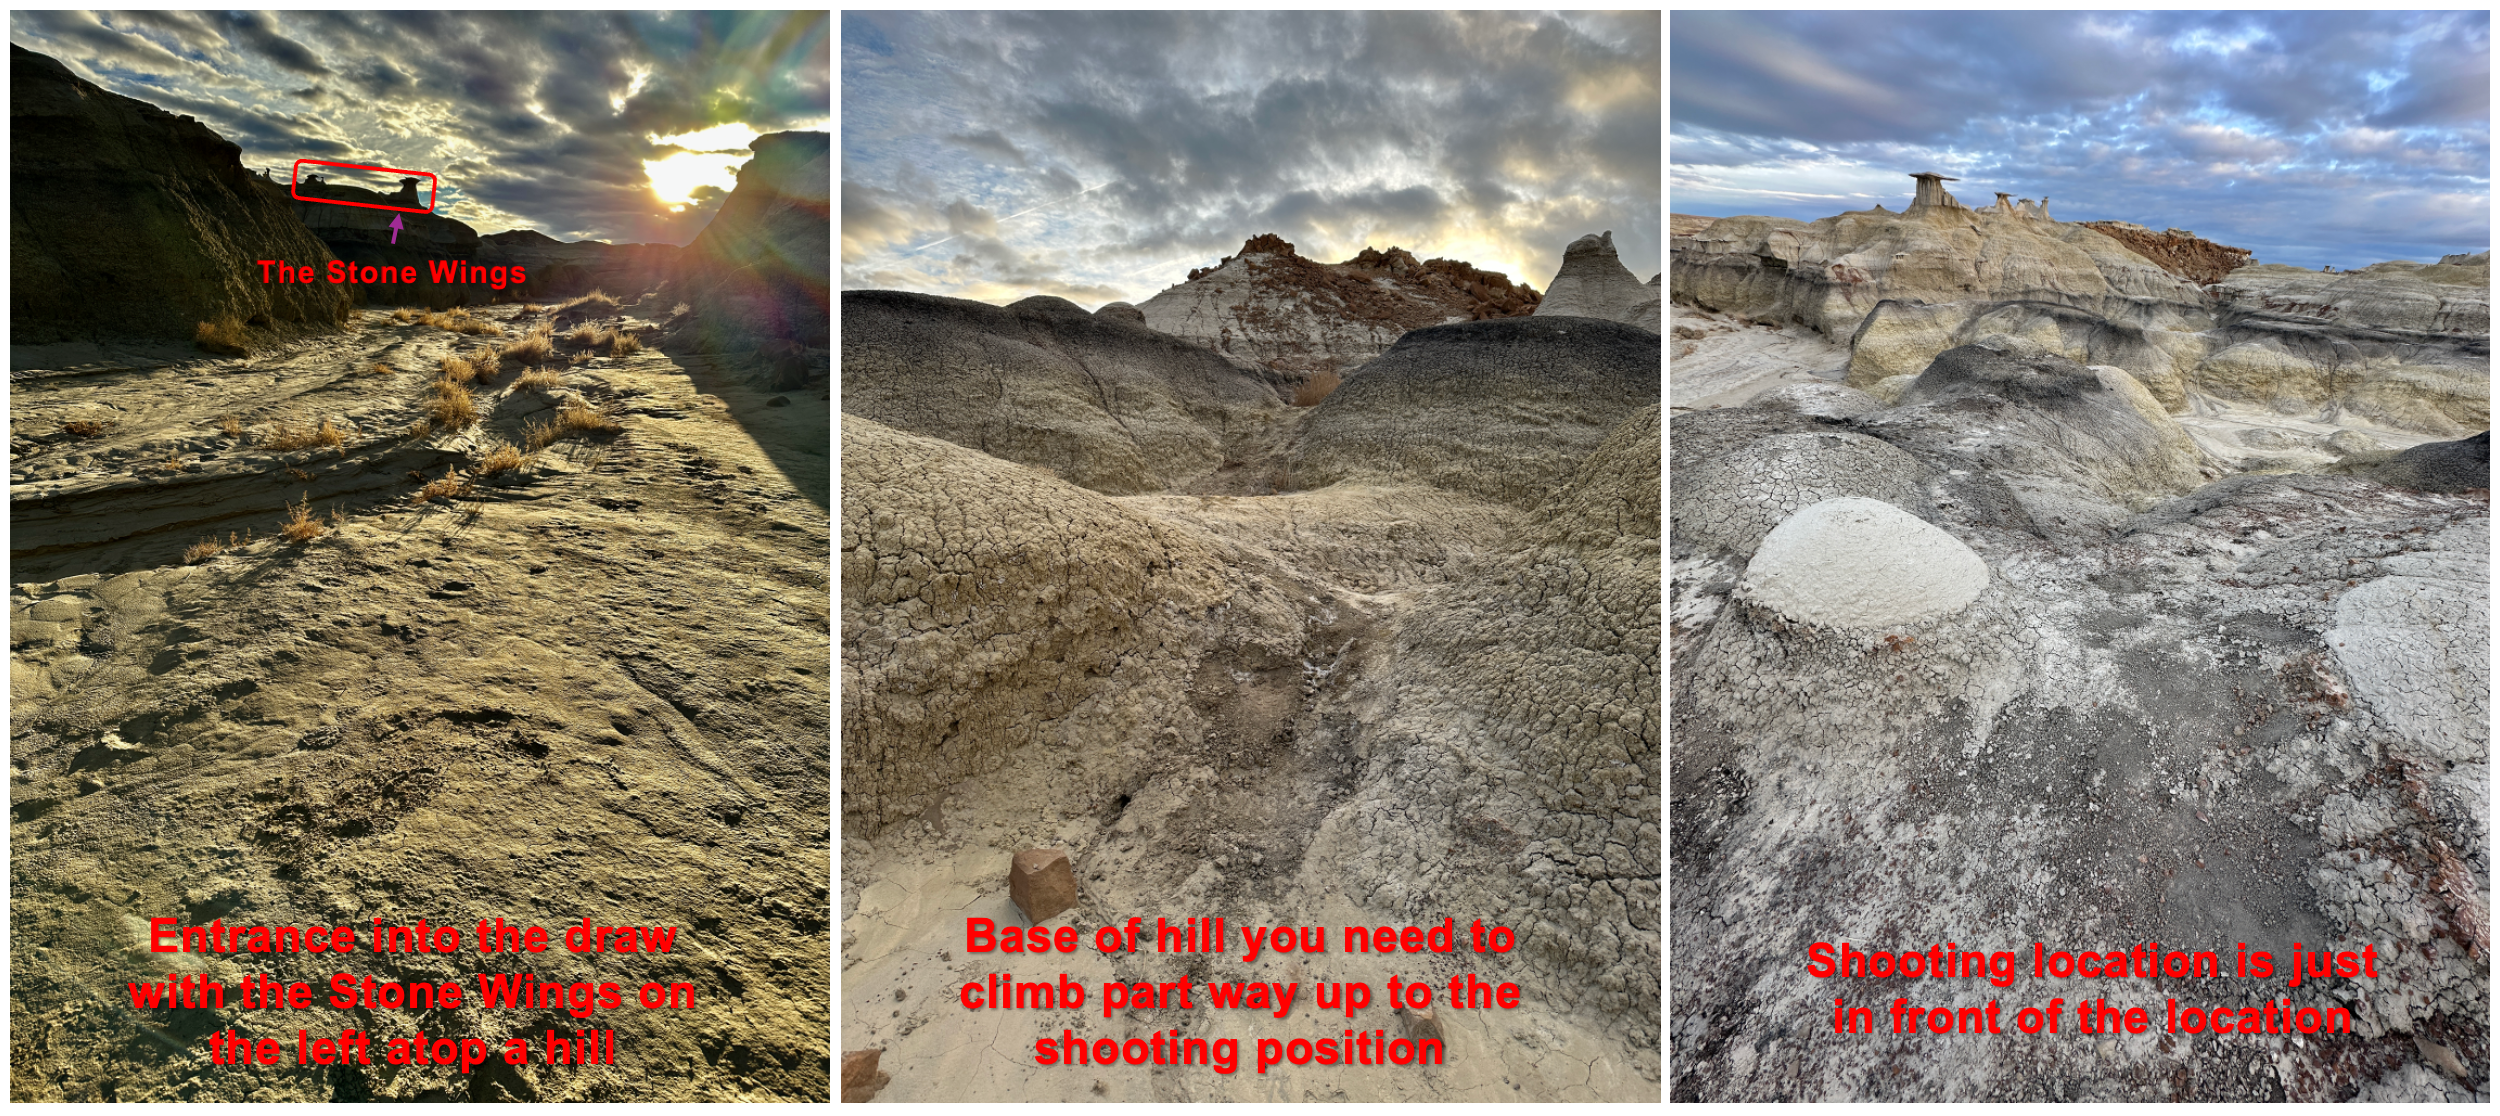
The route to Stone Wings is marked in the AllTrails trail hike labeled Bisti Wings Trail and in Gaia GPS as the Stone Wings hike route. Following either of these apps, trails get you to the Stone Wings. As you approach the draw you will see the Stone Wings perched atop a hilltop on the left as shown in the first image below. When I started looking at the composition I found that the shooting spot that looked the best was to climb up to the middle of the hill and then position the camera a little in front of the location of the last picture.
Most of the internet references out there cover Bisti Badlands and focus on getting to the various points of interest. One of the best articles out there with many details on finding the multiple points of interest is the Bisti Badlands: Tips & Comprehensive Guide for Photographers 2023 UPDATE. But for those who want more information about photographing the Stone Wings, I would recommend using the Photographers Trail Notes post titled Bisti Badlands (Wings).
Since I hadn’t been to the location before, I elected to recon the hike and to look for a shooting location. I started by looking for a composition at the base of the draw that I had entered. I then climbed up the slop on the opposite side of the draw. Then I climbed about halfway up the hill just South of the Stone Wings as mentioned in the center above photo. I tried out various positions till settling on moving forward on that hill as shown in the above righthand photo. When trying to find the best composition, I realized some distracting elements needed minimizing, which I marked in red in the below recon image. There was also a small hoodoo in front of the middle stone wing that could be blended into that stone wing hoodoo to make it look like it was a midpoint element. This would require fine-tuning the tripod height and adjusting the positioning to the left till I could hide the two distracting elements behind each of the two dominant wing hoodoos. Making those adjustments also benefited in positioning the edges of the stone wing hoodoo caps in the center of the top and underside of those caps.

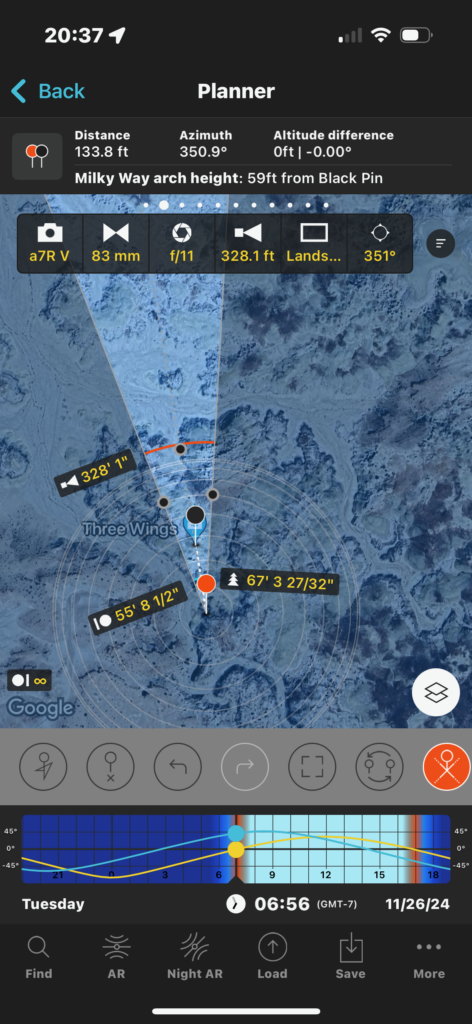
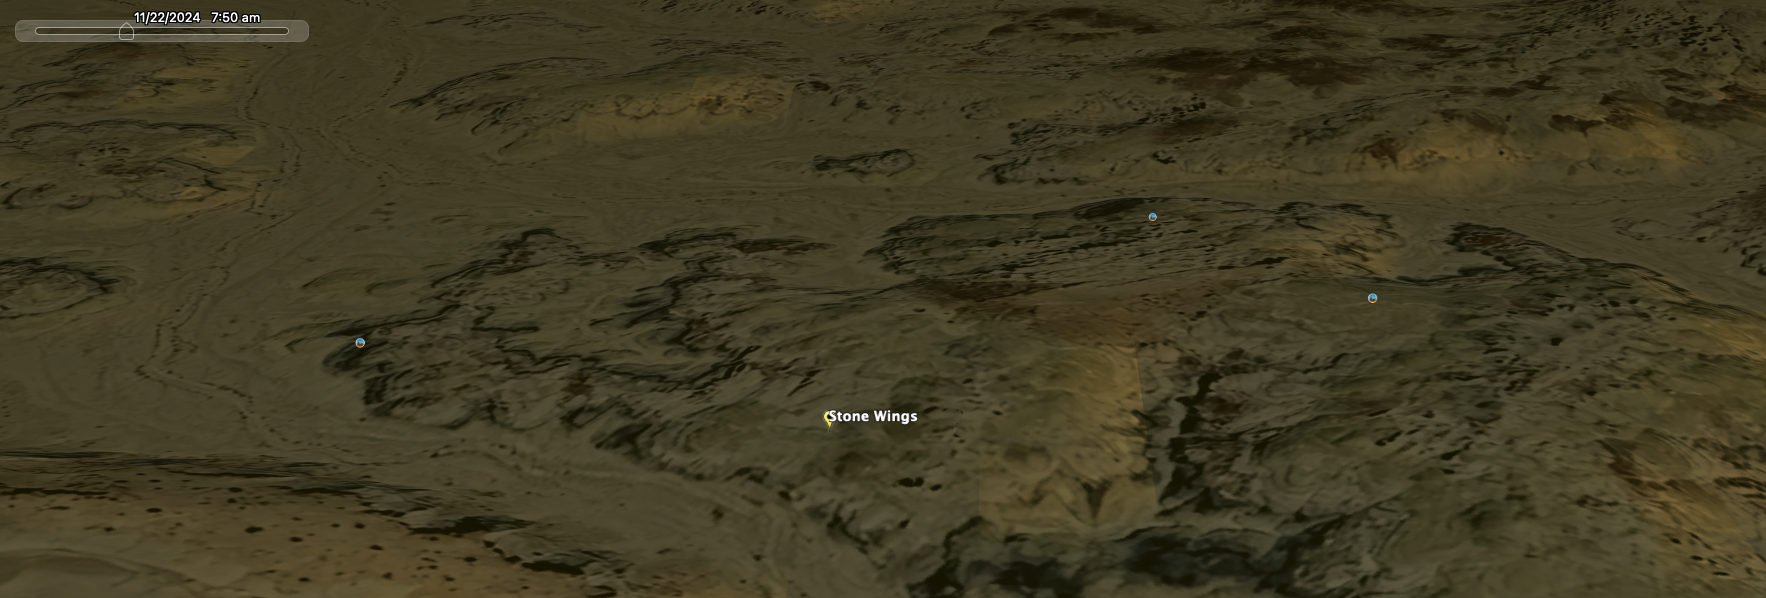
Once I found my shooting point, I used PhotoPills to plan my shot as shown below. The shooting plan was an early morning shot as Blue Hour transitioned to Golden Hour. This would require hiking in just before the start of Blue Hour in darkness from a crescent moon. Google Earth showed that this hilltop was below an Eastern ridgeline horizon indicating a soft diffused light from reaction should the predicted cloud cover happen as the weather forecast called for. Below is the screenshot from that sunlight analysis.
Leaving the trailhead, I hiked in with excitement and confidence that enabling 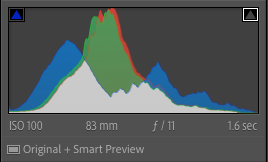 conditions would prevail to capture a photo without shadow or harsh light. My only concern as I walked in the darkness was the clouds I couldn’t see and how they might influence the image. I was anticipating a skewed histogram, which did materialize.
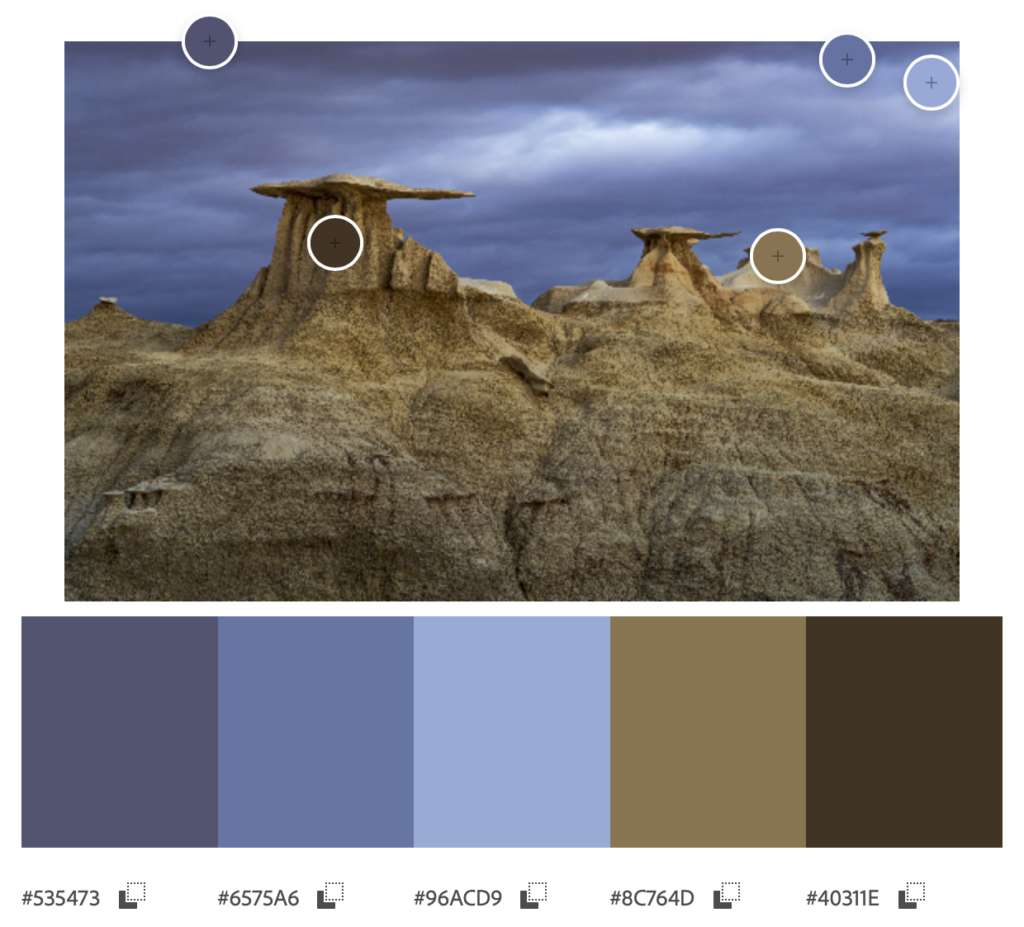
I also suspected that dominant colors would most likely be complementary colors based upon shooting during the Blue and Golden Hour transition that would retain the cooler spectrum blues in the sky and the golden light bringing out the iron in the sandstone, as documented in the color wheel showing those complementary colors and the extraction of the color theme indicating where Adobe Color found these tones. Illustrating the saturation of the dominant blue tones and the luminance of the orange tones. Looking at the end product, I can’t help but appreciate the payoff from planning a shot.
